 Recommended Game Variants Big Team Slayer, Capture the Flag, Team Snipers, Land Grab
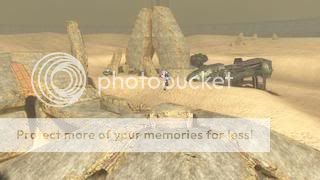
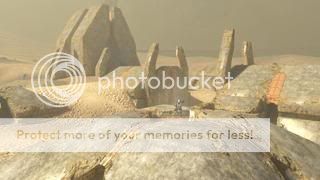
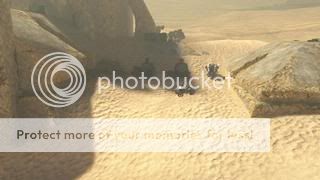
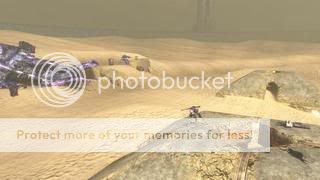
Topographical Overview
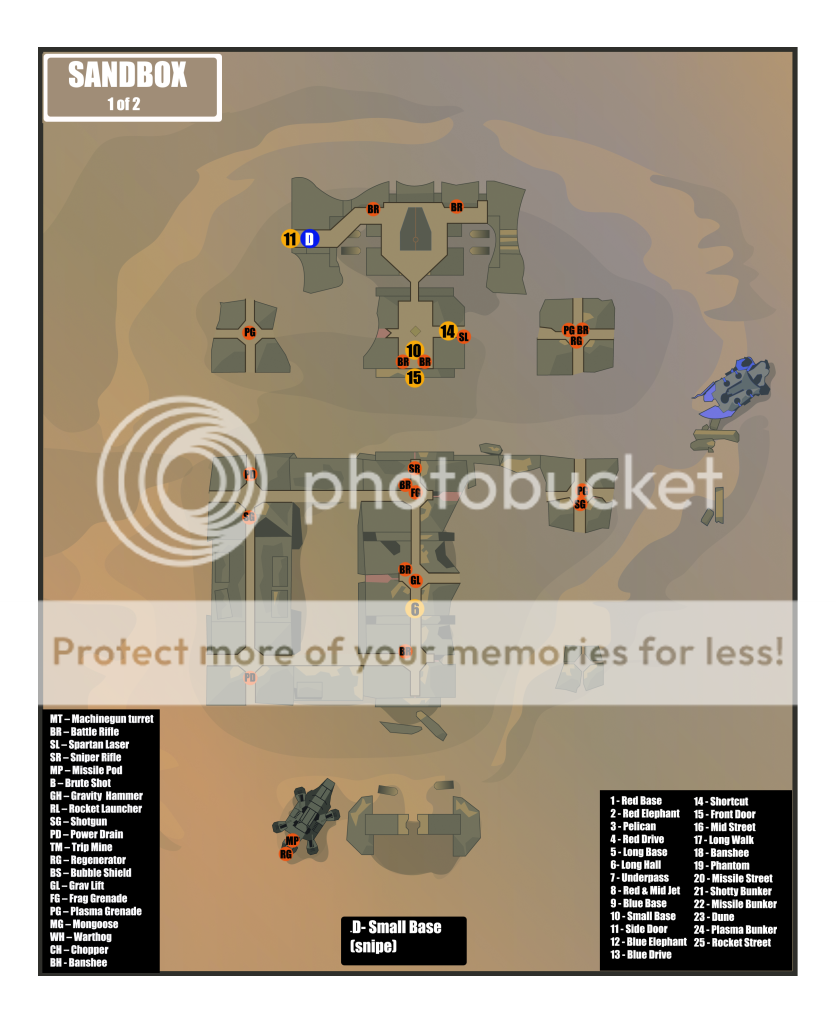
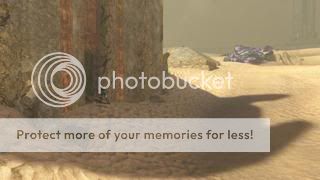
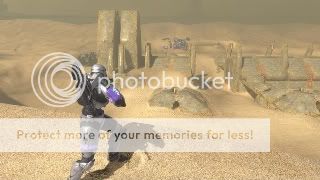
Sandtrap Layout with Weapons & Equipment
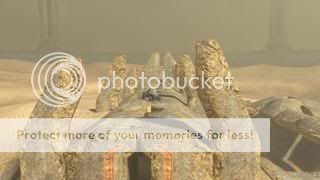
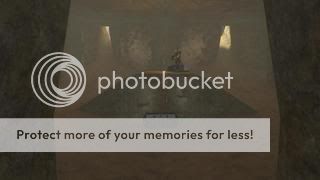
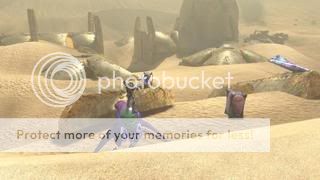
1. Red Base
Other Names: n/a
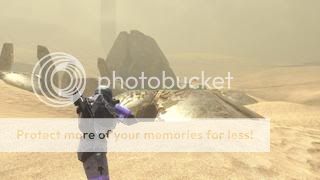
 Starting out in the back of the Red Base, you'll be standing near/under a large golden archway. In front of the arch there are two smaller broken pillars. There are two Warthogs, a Chopper and a Mongoose. The edges of the base are surrounded with sandbag cover and barricades.
2. Elephant
Other Names: n/a
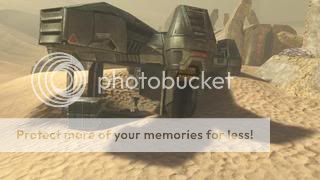
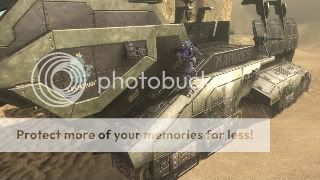
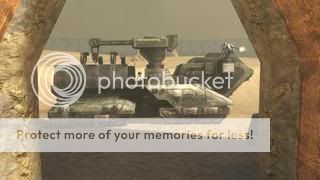 Behind you, the Behemoth, which is the Red Elephant. The Elephant is a large mobile base which can hold vehicles and teammates. Its sloped ramp allows any vehicle to board. One Elephant can house every vehicle spawned at each base, plus your entire team. In CTF each Elephant acts as a base, and your flag will spawn here. There are two Warthogs, a Chopper and a Mongoose in the Red Base.
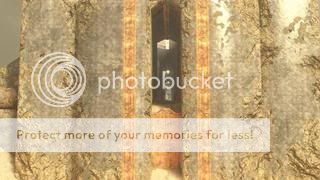
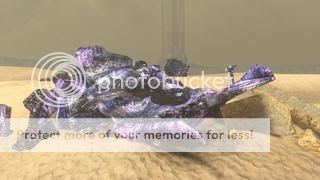
3. Pelican
Other Names: n/a
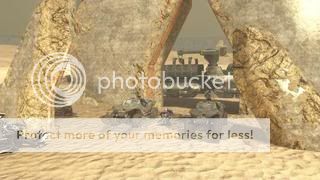
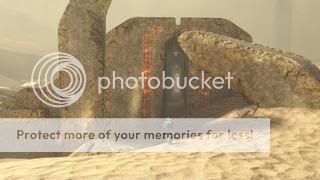
 To the left of the Red Base is the downed Pelican. Here you will find a Missile Pod and a regenerator.
4. Red Drive
Other Names: n/a
 The path that stretches across the Red base to the Pelican is known as Red Drive. The Red Drive ends where Rocket Street begins (at Pelican) and begins at Long Base.
5. Long Base
Other Names: n/a
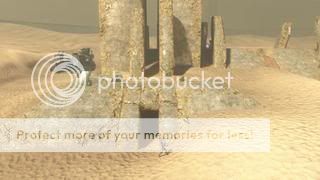
 In front of the Red Base you'll see a few more broken rocks, one buried in the sand and one leaning against a building. The building is better known as Long Base. The leaning rock can be climbed on to access the top of the building. Below it is an entrance point inside of Long Base, also known as Long Hall.
6. Long Hall
Other Names: n/a
 Moving forward down Long Hall, there are three corridors you can take right or left to exit. All exits left lead you to Underpass. Any exits right will take you to Long Walk.
7. Underpass
Other Names: n/a
 Underpass is the open path between Long Base and series of bridges. The parallel bridge is known as Rocket Bridge. The two bridges connecting Long Base and Rocket Bridge are Bubble Bridge and Red Bridge. Red Bridge is closest to Red Base, while Bubble Bridge is closer to Open Street.
8. Red Jet and Mid Jet
Other Names: n/a
 If you move across Underpass to the bottom side of Rocket Bridge, you'll notice two airshafts. You can take either to access the top of the bridge. The airshaft closest to Red Base is Red Jet, the other is Mid Jet.
BLUE BASE CALL-OUTS
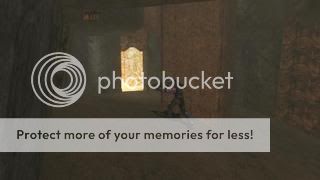
9. Blue Base
Other Names: n/a
 Blue Base is marked by the vast archways much like Red Base. Its located behind the Small Base.
10. Small Base
Other Names: n/a
 Standing on top of Plasma Bunker with your back to Rocket Street, you'll be facing another base named Small Base, which is also connected to Blue Base. Blue Base is marked by the vast archways much like Red Base.
11. Side Door
Other Names: n/a
 Moving forward towards the end of Rocket Street you'll notice a small entrance door on your right. This is a side entrance to the Blue Base, known as Side Door.
12. Elephant
Other Names: n/a
 Continue to the back of Blue Base, you'll find a series of three underground doorways. All lead you the same direction, Blue Base. Also in front of you will be the Leviathan, the Blue Elephant. The small mound in the Blue Base is an objective field.
The back of Blue Base is sloped down at an angle that is climbable. The topside of Blue Base and Small Base is easily accessible from this area.
13. Blue Driveway
Other Names: n/a
 Move along the top of Blue Base, you'll run into a barricade. If you look down to your right, you have a view of Plasma Bunker. To your left you'll see another spawn point for vehicles. This area is known as Blue Driveway. Note, both bases have the same amount of spawning vehicles.
14. Shortcut
Other Names: n/a
 Looking down towards Blue Driveway from Blue Base, you'll see a small patch of darkened sand next to a Warthog. This marks an additional entrance to the Blue Base known as Shortcut.
15. Front Door
Other Names: n/a
 When entering Shortcut the small room with a single golden pillar is known as Small Base. On your left is a walkway leading you out to Open Street. This is known as the Front Door. To your right, a small doorway leads you back into the Blue Base.
NEUTRAL CALL-OUTS
16. Mid Street
Other Names: n/a
 Mid Street is the large sandy avenue separating the Small Base from the Long Base and stretches from Rocket to Missile Street.
17. Long Walk
Other Names: n/a
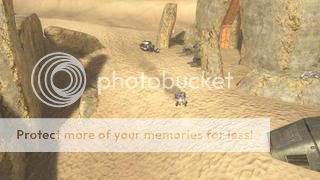
 From Banshee you'll see Missile Street wrap around to Red Drive as well as a plateau of sand that has buried a bunker. The plateau is known as Long Walk. Named mainly for the fact that if taking this route without a vehicle, it will be very time consuming.
18. Banshee
Other Names: n/a
 In front of the Phantom, running along Missile Street, is a small ledge with two supply cases and two plasma batteries perched around it. To the left of the ledge is the Banshee. This small area having only one feature, yet remaining very active, is known as Banshee.
19. Phantom
Other Names: n/a
 Cross Missile Street into a purple scrapped and destroyed craft. This mangled piece of metal was once a Phantom. It still has its uses as one of the few carney holes in Sandtrap.
20. Missile Street
Other Names: n/a
 Taking shortcut back out towards Blue Drive, pass the Missile Bunker and you'll see another pathway that stretches back around to the Red Base. This is known as Missile Street, because it begins at Missile Bunker.
21. Shotty Bunker
Other Names: n/a
 To the left of Blue Driveway, there are two more bunkers. The first is known as Missile Bunker, the second (across Open Street) is Shotty Bunker. Both are named for the main spawning weapons on each.
22. Missile Bunker
Other Names: n/a
 To the left of Blue Driveway, there are two more bunkers. The first is known as Missile Bunker, the second (across Open Street) is Shotty Bunker. Both are named for the main spawning weapons on each.
23. The Dune
Other Names: n/a
 There's a large wall of sand running along the left of Rocket Street. The highest point of this wall casts a shadow down. You can climb up the wall from an entrance point in front of Open Street. This top area is known as the Dune, as it's simply a large sand dune.
24. Plasma Bunker
Other Names: n/a
 Rocket Street stretches across the middle of the map (Mid Street) to the Blue Base. After crossing the Open, you'll approach a single bunker. The bunkers resemble smaller pyramids with entries on all sides and from the top. This bunker is known as the Plasma Bunker. There's a Brute Shot on top, but every bunker is equipped with one leaving the only stand-alone feature being the plasma grenades.
25. Rocket Street
Other Names: n/a
 The vast area to the left of Rocket Bridge is known as Rocket Street and is a very active path for vehicles.